The perfect drill bit is essential for a smooth and secure Ring Doorbell installation. This guide will help you understand the necessary tools, the correct drill bit sizes, and how to choose the right bit for various wall materials, ensuring a flawless setup without mistakes.
What Tools Do You Need to Install a Ring Doorbell?

When installing a Ring Doorbell, you’ll need more than just a drill bit to get the job done efficiently and smoothly. Having the right tools can make the installation process straightforward for anyone. Here’s a list of essential tools you’ll need:
- Cordless Drill: A cordless drill is crucial for convenience and effectiveness during the installation. Make sure it is fully charged before you begin.
- Screwdriver Set: Depending on the specific screws provided with your Ring Doorbell model, you may require different types of screwdrivers. A set with various sizes and types ensures you are ready for any fastening needs.
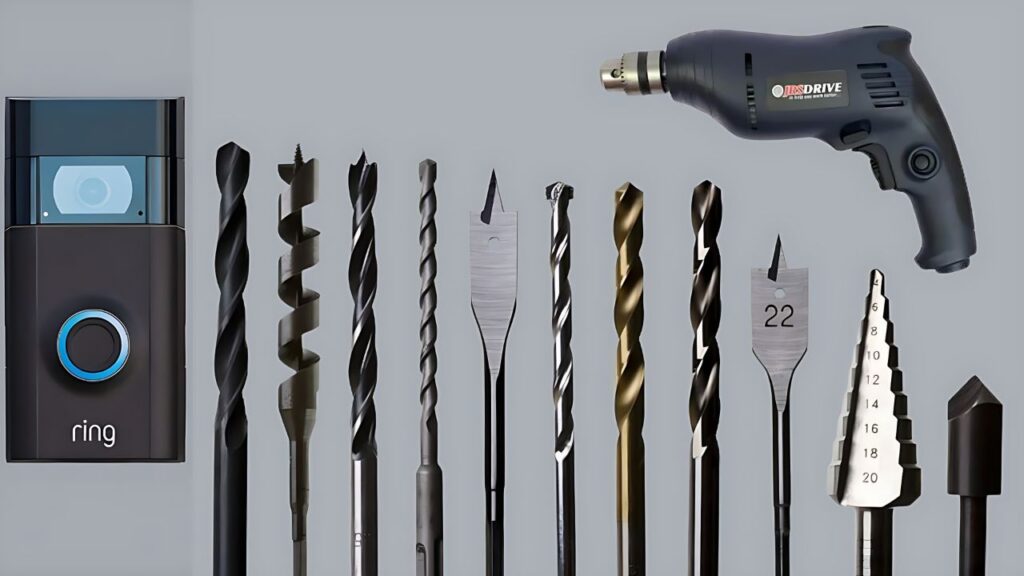
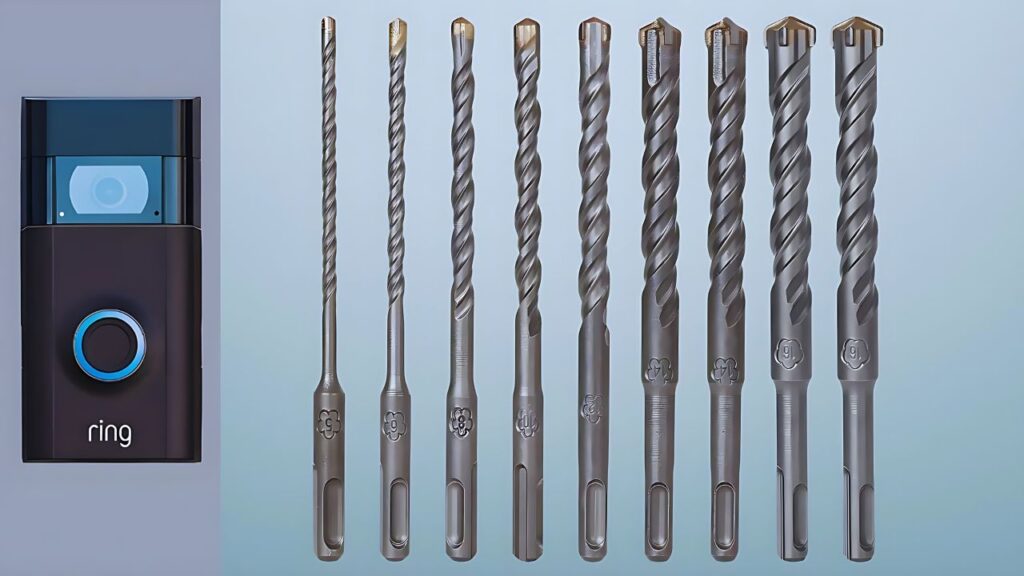
- Masonry Drill Bit: The correct size masonry drill bit is essential for drilling into materials like concrete, brick, or stucco. Check the Ring Doorbell instructions to determine the appropriate size.
- Level: Using a level ensures that your Ring Doorbell is installed straight. This tool helps achieve a professional and visually appealing result.
- Adapter Plate (if needed): For older homes or unique setups, an adapter plate might be necessary to ensure a secure and compatible installation.
- Mounting Instructions and Template: The instructions and template provided with your Ring Doorbell are invaluable. They guide you through the process, indicating the exact spots for drilling and mounting to ensure precision.
With these tools at your disposal, you’ll be well-equipped to install your Ring Doorbell with ease and accuracy.
What Size Drill Bit Do Ring Doorbells Need?

Selecting the correct drill bit size is crucial for securely installing your Ring Doorbell. A 15/64″ drill bit is typically recommended as it fits the mounting screws and anchors perfectly.
The hole diameter should match the screw anchors exactly for a firm attachment. For hard surfaces like brick, metal, or stucco, use a masonry drill bit, which is designed to penetrate without causing damage.
Ring Doorbell kits usually include the necessary tools, but it’s wise to confirm with a store expert if the included bit suits your home’s material. For softer materials, a regular wood drill bit may suffice, simplifying the process.
What Do The Numbers In A Drill Bit’s Size Mean?

Choosing the right drill bit size for your Ring Doorbell installation is easier than it looks. The numbers on a drill bit, such as 15/64″, indicate the diameter of the hole it will create.
This measurement is critical for ensuring the drill penetrates and exits the drilling surface in a straight line. If not, the hole could be slightly larger, which might affect the stability of your doorbell. Understanding these dimensions helps achieve a secure and precise installation without any misalignments.
Essentials Of Masonry Drill Bits: Do You Need Them?

When installing a Ring Doorbell, the wall material determines the drill bit needed. For drywall or wooden studs, a standard drill bit is usually sufficient. However, for brick, stucco, or stone exteriors, a masonry drill bit is essential.
These bits have sharp tips and flutes to handle tough materials. From my experience, using a masonry drill bit for hard surfaces ensures a smooth and efficient installation. Planning and choosing the correct bit size are crucial for a successful setup.
How To Use Masonry Drill Bit For Ring Doorbells?

Using a masonry drill bit for installing a Ring Doorbell involves a few straightforward steps. Here’s a concise guide:
- Select the Right Size Bit: Choose a masonry drill bit suitable for the material you’ll be drilling into (e.g., concrete, brick, or stucco). Refer to the Ring Doorbell installation instructions or select a bit slightly larger than the provided anchors.
- Mark and Measure: Position the mounting bracket of the Ring Doorbell at the desired installation spot. Use a level to ensure it’s straight. Mark the hole locations on the masonry surface with a pencil and measure carefully for accuracy.
- Drill Holes: Wear safety glasses and insert the masonry drill bit into your power drill. Drill holes at the marked locations on the masonry surface, applying steady pressure and keeping the drill level. Use a slow speed to prevent the bit from overheating.
- Insert Anchors and Mount: Once the holes are drilled, insert the provided anchors into each hole, tapping them in with a hammer if needed. Align the Ring Doorbell mounting bracket with the drilled holes and secure it using the provided screws, ensuring it is firmly attached.
By following these steps, you can effectively use a masonry drill bit to install your Ring Doorbell, ensuring a secure and reliable setup.
Is It Okay to Use a Drill Bit That’s One Size Too Big or Small?
Using a drill bit that is either too small or too large can cause major problems when installing a Ring Doorbell. If the drill bit is too small, the holes will be undersized for the screw anchors, making the installation difficult or even unworkable.
Conversely, using a drill bit that’s too large results in holes that are too big for the anchors, which compromises their ability to hold securely.
This can cause the doorbell to become loose over time, and in the worst-case scenario, it might even fall off. Therefore, it’s essential to use the exact drill bit size recommended for your Ring Doorbell installation to ensure a secure and stable setup.
More Things People Look For:
What Size Screws Does a Ring Doorbell Use?
The screws for your Ring Doorbell are essential for a secure installation and are similar to standard wood screws. Specifically, the screw size is Phil 2#, F+ST3*25TP1.
Knowing these specifications ensures you get the right size screws. If you’re unsure, a quick visit to your local hardware store can help you find the exact screws needed for a perfect setup.
Do I Need a Drill to Install a Ring Doorbell?
Not necessarily. The No-Drill Mount is a great alternative, featuring a strong, non-damaging adhesive that allows you to attach your doorbell securely without drilling.
This mount adheres to various wall types and is easy to remove, offering a damage-free solution while allowing you to see, hear, and speak to visitors without altering your home’s exterior.
What Size Is a Ring Doorbell?
The Ring Video Doorbell, particularly the 2nd Generation model, is designed to fit modern home requirements with a compact size of 62mm x 126.5mm x 28mm (2.4 in x 4.98 in x 1.10 in).
It supports a connection speed of 2 Mbps and features two-way audio with noise cancellation, enhancing the user experience. These specifications, along with the system requirements for the Ring app, are important for optimal performance and ease of use.
Does the Ring Doorbell Pro Come With a Drill Bit?
Yes, the Ring Video Doorbell Pro, like the Ring Video Doorbell 2, includes a special masonry drill bit. This is particularly useful for installations on harder surfaces, eliminating the need to purchase separate tools.
For removing your old doorbell, it’s recommended to have a box cutter or flathead screwdriver on hand, which are common household tools but not included in the kit.
Do I Need a Masonry Drill Bit for All Surfaces?
When installing your Ring Doorbell, you don’t need a masonry drill bit for all surfaces. While a masonry drill bit is recommended for tougher materials like concrete, brick, or stucco, it’s not necessary for softer surfaces.
For wood or other softer materials, a regular wood drill bit is sufficient. Understanding the surface you’re working with and choosing the right drill bit can make the installation process smoother.
Our Final Take
Selecting the correct drill bit is crucial for a secure Ring Doorbell installation. This guide has provided the necessary tools and tips to ensure a flawless setup.
Following these recommendations will help you achieve a stable and reliable installation.

